In this tutorial, we will guide you Iterative Inpainting step-by-step!
Movie studios of the future! With Haiper GenAI
Tools: Haiper Video Gen, ComfyUI, Photoshop.
Let's make a hand crafted parody blend-up of the 20th Century Fox logo and the Haiper logo!
Haiper's text-to-video generation is the best looking and most consistent video generator currently available, but raw text and dumb luck is only going to get you so far.
We've used our logo-to-image pipelines before to produce beautiful renders of simple logo designs. Turning the haiper "H" into paint blobs, particles, and bubbles. But this time things are a little different.. I want to completely replace the "20th" in the classic 20th Century Fox logo with my own design, including altering the text below.
To achieve this, we can combine a mix of iterative photobashing and logo-to-image pipelines. The steps are as follows:
STEP 1: Select your source image
Track down the image you want to remake and size it down to something appropriate for ComfyUI. In my case, that was this old 20th Century logo and 1344x768 (image generation prefers to work in multiples of 16). We can remove the topmost part of the statue with photoshops generative fill tool. Simply select the area you want to remove and apply a generative fill with "no prompt".
STEP 2: Remove elements
The "Television" portion can be removed bit by bit using the "remove tool" visualised as a little band-aid in the toolbar. Scrub over the portions you wish to remove, and circle-around any larger areas. Once we've got a nice clean plate, try painting in the rough shape of what you want to visualise. In my case, a golden 3D version of the Haiper Logo. We'll leave the text alone for now.
STEP 3: Input guidelines
To constrain the logo shape and make sure it renders correctly, we'll stretch a white version of the logo over the rough sketch and fill the surrounding area with black.
STEP 4: Bring to ComfyUI
We can now bring things into our ComfyUI pipeline. This is a "logo-2-Image" workflow that uses a "t2i-Sketch" controlnet. Simply apply your images to the yellow nodes shown below. (Left for your control image, and right for your rough sketch guide), then type out an appropriate prompt into the topmost green node.
You'll notice that there are two green nodes for prompt input. The first is for a base prompt "a monument", the second is to include a long list of grading keywords. "incredible detail, photograph, 4k". It has no technical difference from writing the prompts into one node, it just helps keep things tidy.

The blue node is your KSampler. Think of this as your central control. By shifting the "start_at_step" value up and down, we can control how far into the generation the rough sketch guide is referenced. The higher the start step, the closer it will match the referenced image.
STEP 5: Iterate images
By generating shapes and objects that closely resemble our desired result, then using photoshop to stitch them back into our rough sketch guide, we can gradually chisel our way to the desired result, increasing the starting step as we go. For the "HAIPER" text, I simply stretched a font over the area, crudely painted the hollow areas back in and repeated the previous regeneration steps.
STEP 6: Animate your image on Haiper
Once complete, we can take our creation over to https://app.haiper.ai/creations and upload it to "animate your image (HD)" with the following prompt:
"drone shot of a giant golden logo, camera pans around, light beams rock back and forth, clouds in the sky"
Never, ever settle for a single generation here. Try out a few variations and see what different motions you can get. Even the same prompt can give you different results with a different seed.
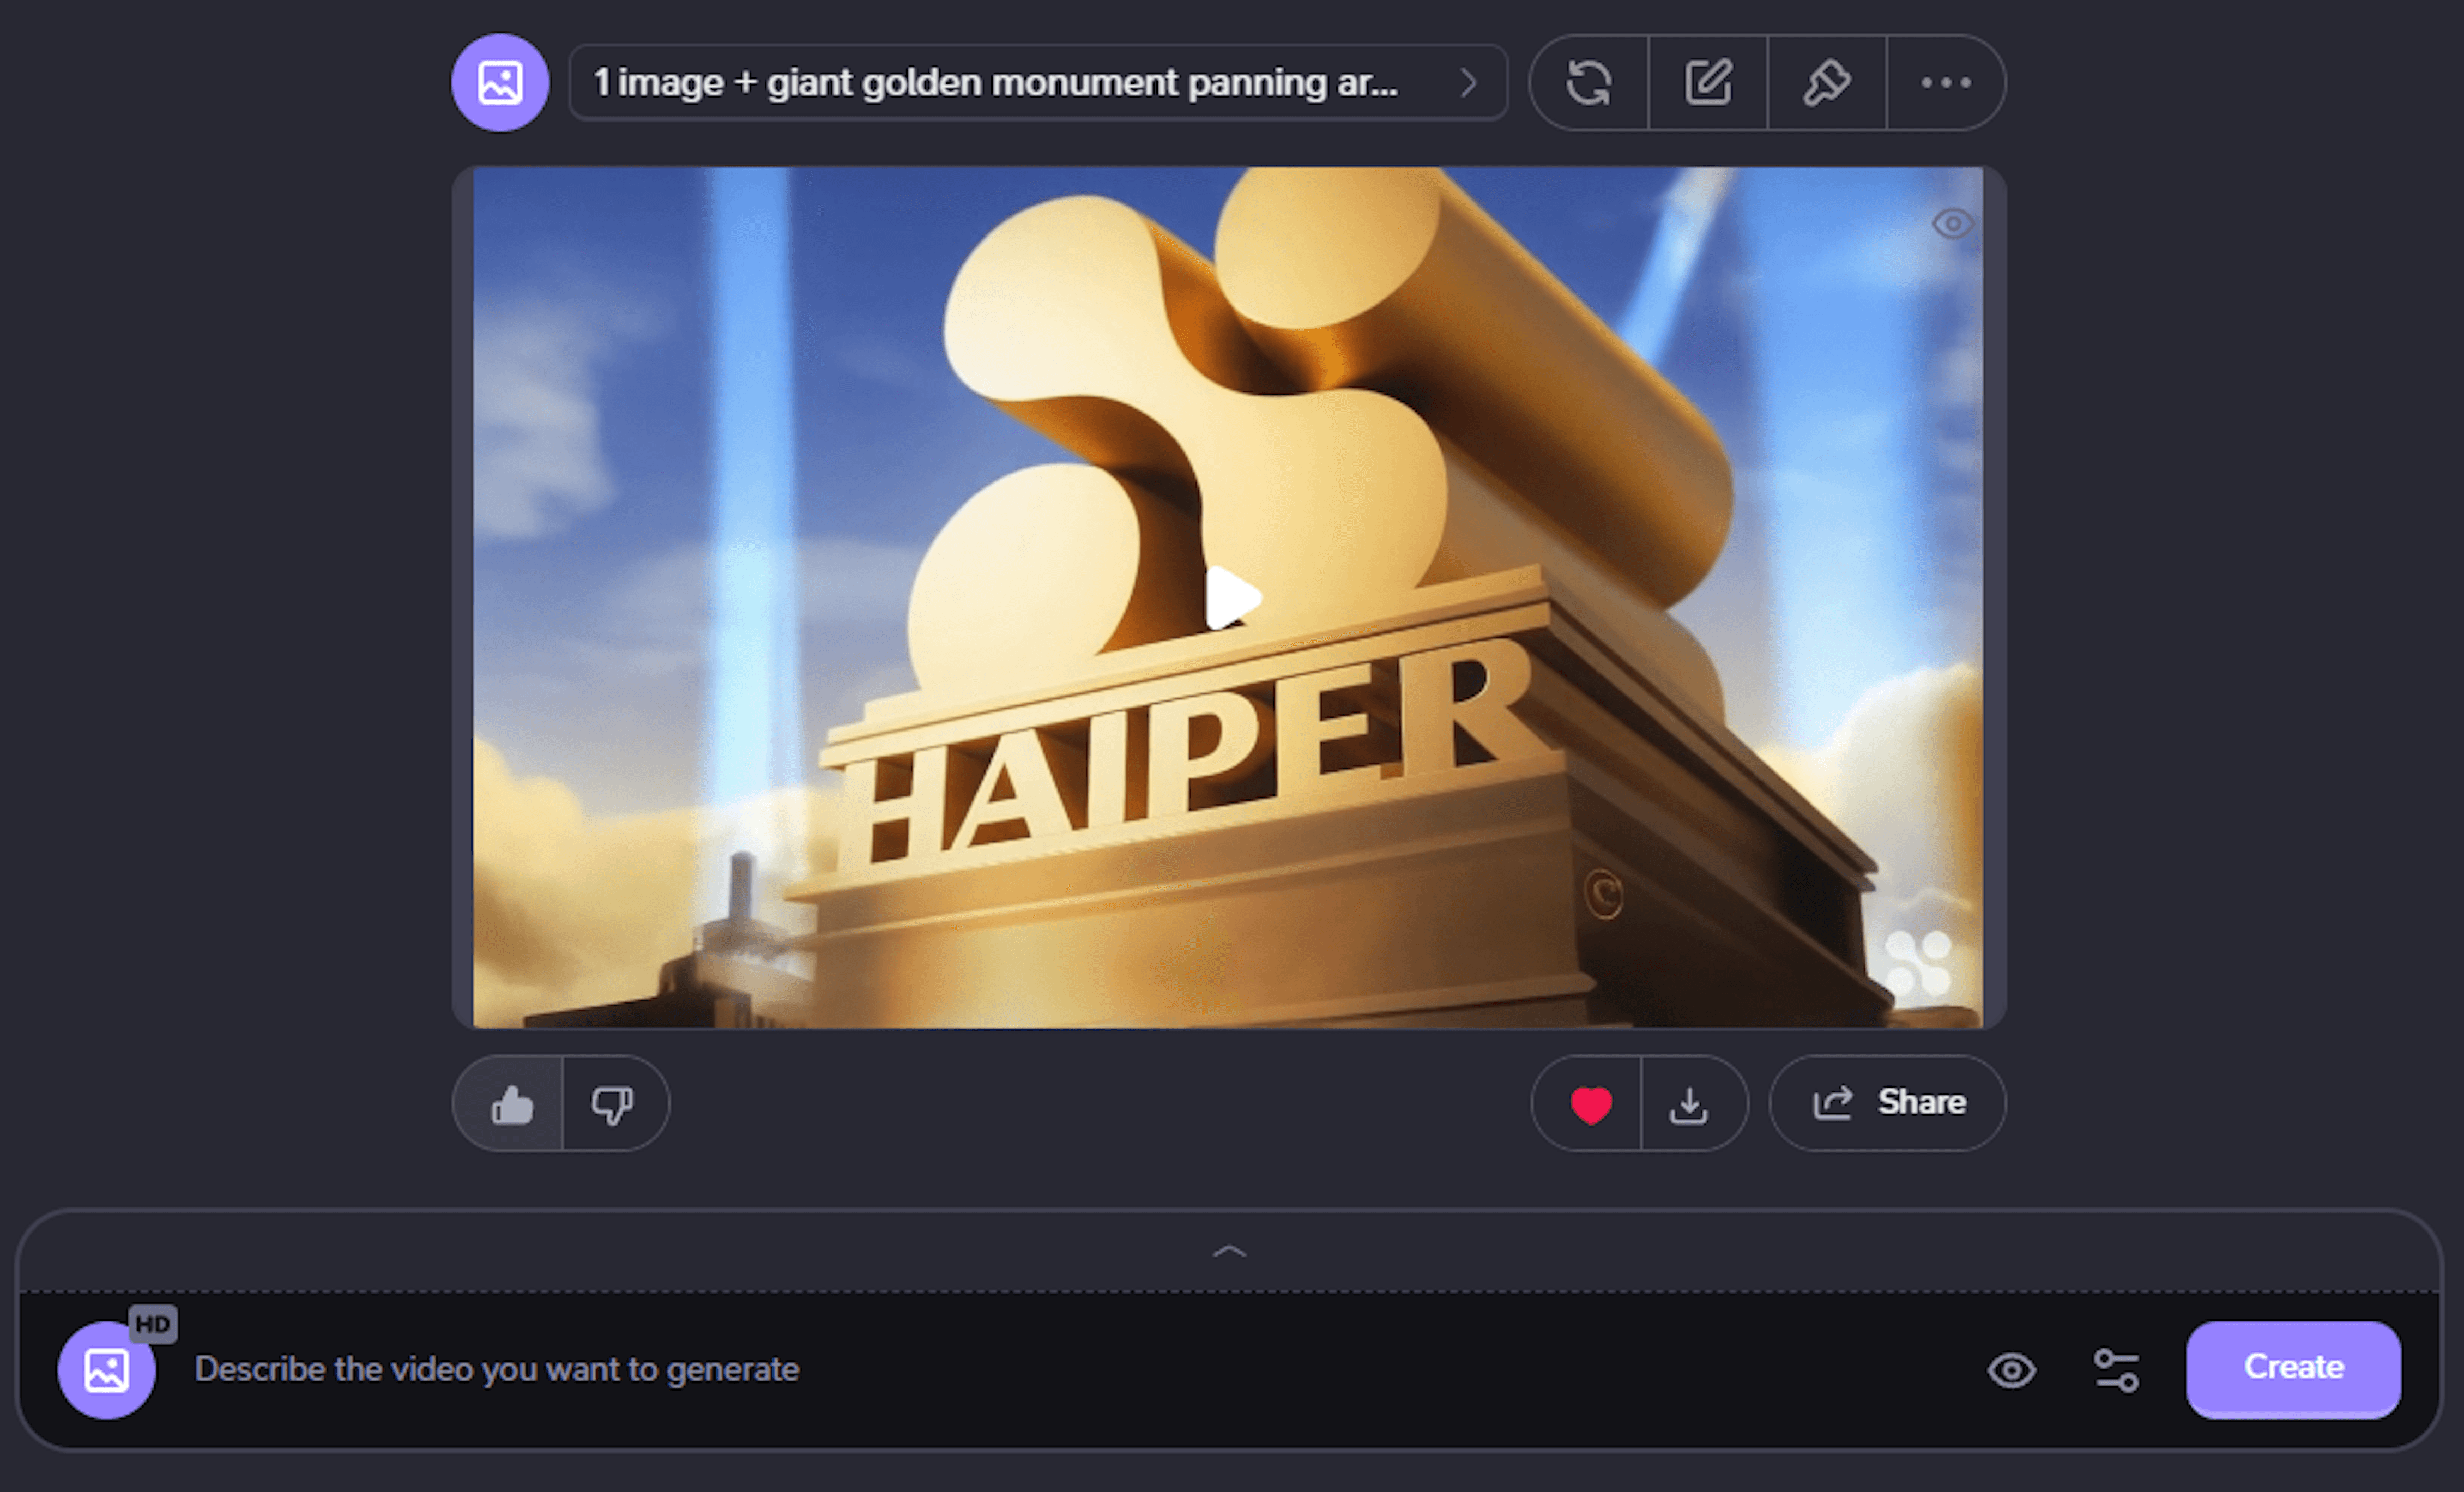
Congrats: your result!
..and you're done. For comfyUI enthusiasts, the workflow we use has been embedded into the screenshot you saw previously. So drag and drop it into your workspace and you'll be good to go.