In this tutorial, we will guide you Animated Cylinder step-by-step!
Animated Cylinder tutorial for Haiper Video Gen
Tools: Haiper Video Gen, After Effects
Intro
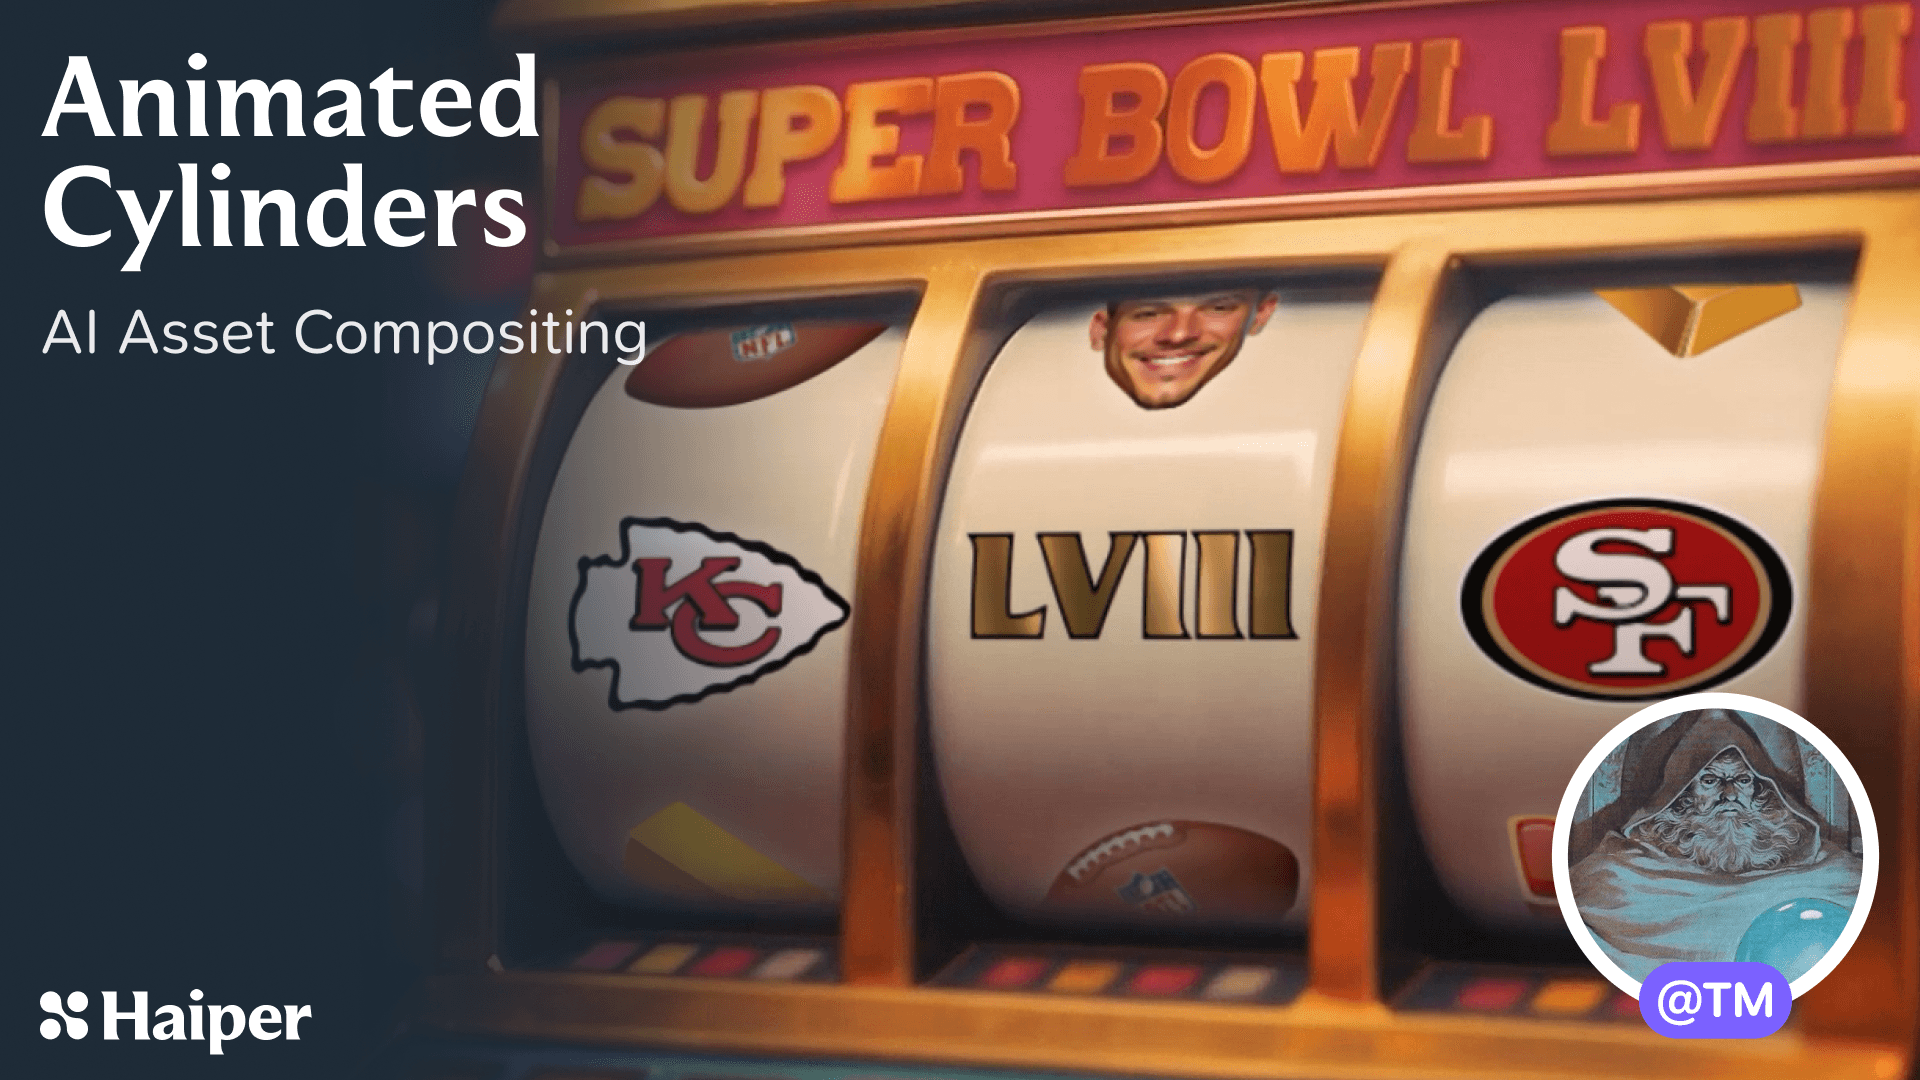
To celebrate the 2024 super bowl in Vegas, we put together a little animation of a slot machine with spinning reels that feature icons and portraits of the players. Made with 100% AI generated assets, this trick is fairly simple to pull off for anyone familiar with After Effects.
Simply create a long strip of icons from generated images, then apply the CC Cylinder effect to build each of the reels. Use an image generator and Haiper: IMG-2-VID to create footage of an empty slot machine, then match the movements of your old empty reels with your new ones. A little grading, some directional blur to express speed, and you're done.
After Effects users can find a download link to the project file at the end of this guide. For those that want to try out creating their own slot machine reels, read on.
STEP 1: Generate your images
First of all, we want to generate a clean plate of the slot machine, without any numbers or graphics. By generating portions of your image, and gradually collaging and regenerating the image until you get exactly what you're after.
Keep note of the area you'd like to spin, and make sure that it's nice and round. The more distorted it is, the harder it'll be to line up your animations later.
STEP 2: Animate your image
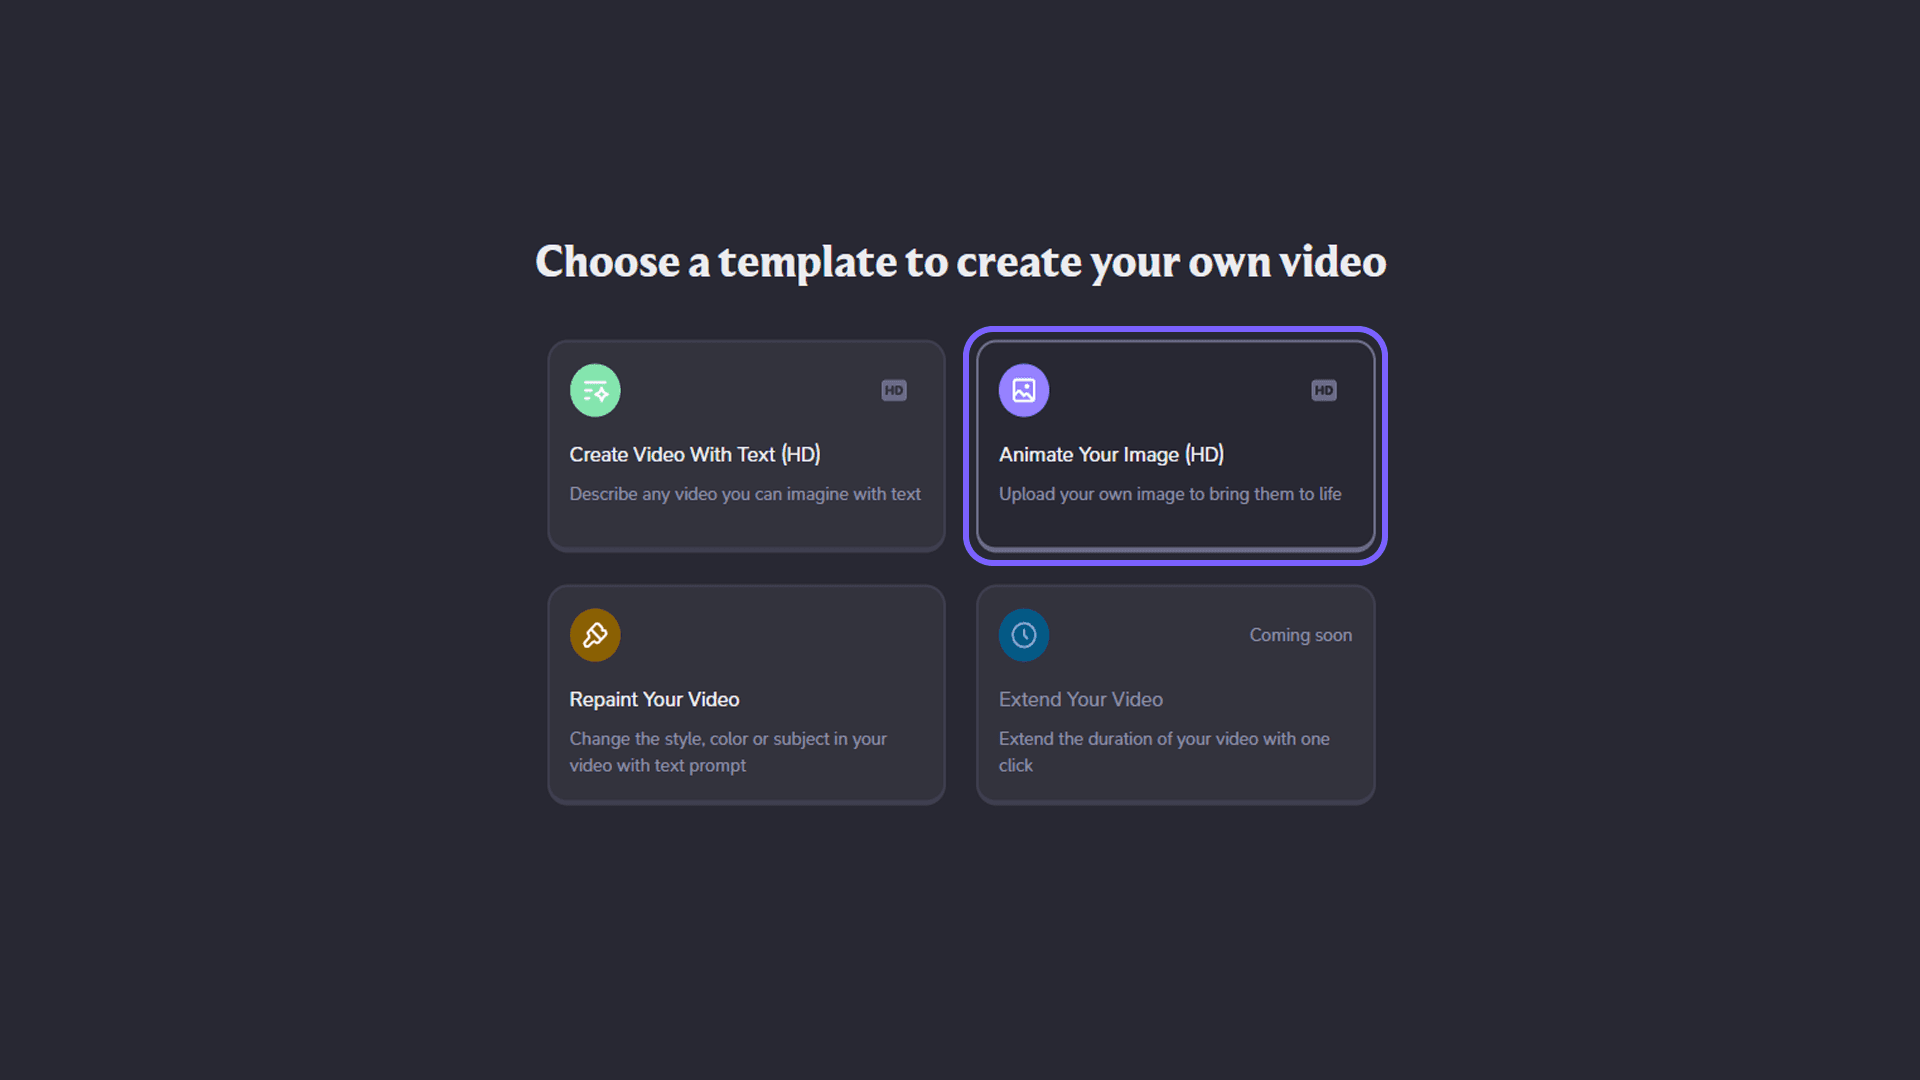
Once you've found an image (or several) you like, head on over to Haiper and select "Animate your Image". Upload your image, and type out your prompt. Really go wild here and try out as many different prompts as you can think of. What could move in your scene? Could the camera pan around whilst the lights flash? Could people be walking around in the background? How about we zoom in, or out?
In this case I've gone for:
"the camera slowly orbits around a shiny golden slot machine in a Las Vegas casino, the slots are brightly coloured and covered in flashing buttons, bokeh, 3D, depth, VFX".
Notice how I prompted a description of the "golden slot machine". As opposed to just the action I wanted it to take. Always make sure to include at least a very brief description of your image, as this will help the AI to understand the context and create better videos.
✨ Some tips for Image-to-Video
The order of the keywords in your prompt will affect their strength. Words near to the beginning of your prompt will be prioritised over words near the end.
The image you submit is your "First Frame Condition", so describing what is about to happen will often be more successful than describing what has already happened.
Camera action prompts like tilt, pan, dolly, and zoom can be applied to any scene. So if you're stuck on how to prompt something, try a few of these.
Don't wait for your generation to finish before trying another. The seed* is different each time, so submit a few of the same prompts and see if you can spot some similarities. Be sure to share your results, and any clever prompts you find on Discord!
✨ Seed
The seed is a sequence of numbers that directs how a video is generated. It serves as a starting point. By fixing your seed, you can refine your generation to something specific. Randomising it will provide you with a wide range of variations.
STEP 3: Composite your assets
Now we take our generation into After Effects and create our CC Cylinders.
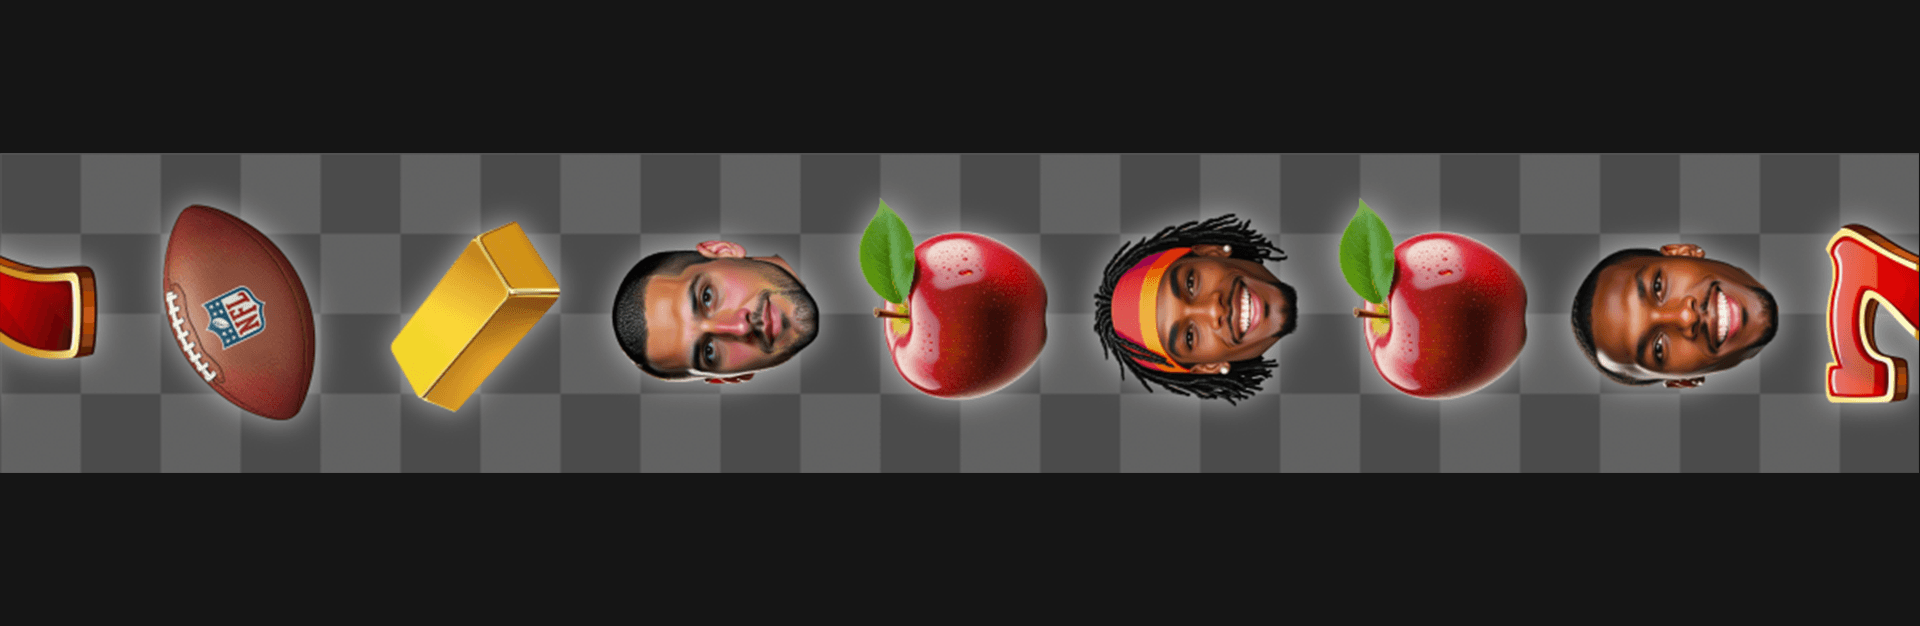
First, create a long composition 1200x200 pixels and evenly space your slot machine images along the width, making sure to start and end the images with the same item will ensure a seamless loop. Here we see some props and familiar faces I generated earlier. A white drop shadow has been placed around each item and the composition has been made transparent.
Next, we place our strip of images into a separate composition, also measuring exactly 1200x1200. Since the CC Cylinder effect accounts for the height and width of the composition it's contained in, this will ensure we don't get any gaps.
Rotate the cylinder and adjust its size to roughly match your footage. Select "outside only" in the render options, and adjust the shading to give a flat look. (See settings below).
By applying a direction blur effect inside our first composition, we can create the illusion of speed, hiding any rough edges.

Now create an additional pair (strip+cylinder) for each reel on your machine. And composite each of these together with your generated footage, tweaking the scale, rotation and position until the cylinders convincingly match the movements of your footage.
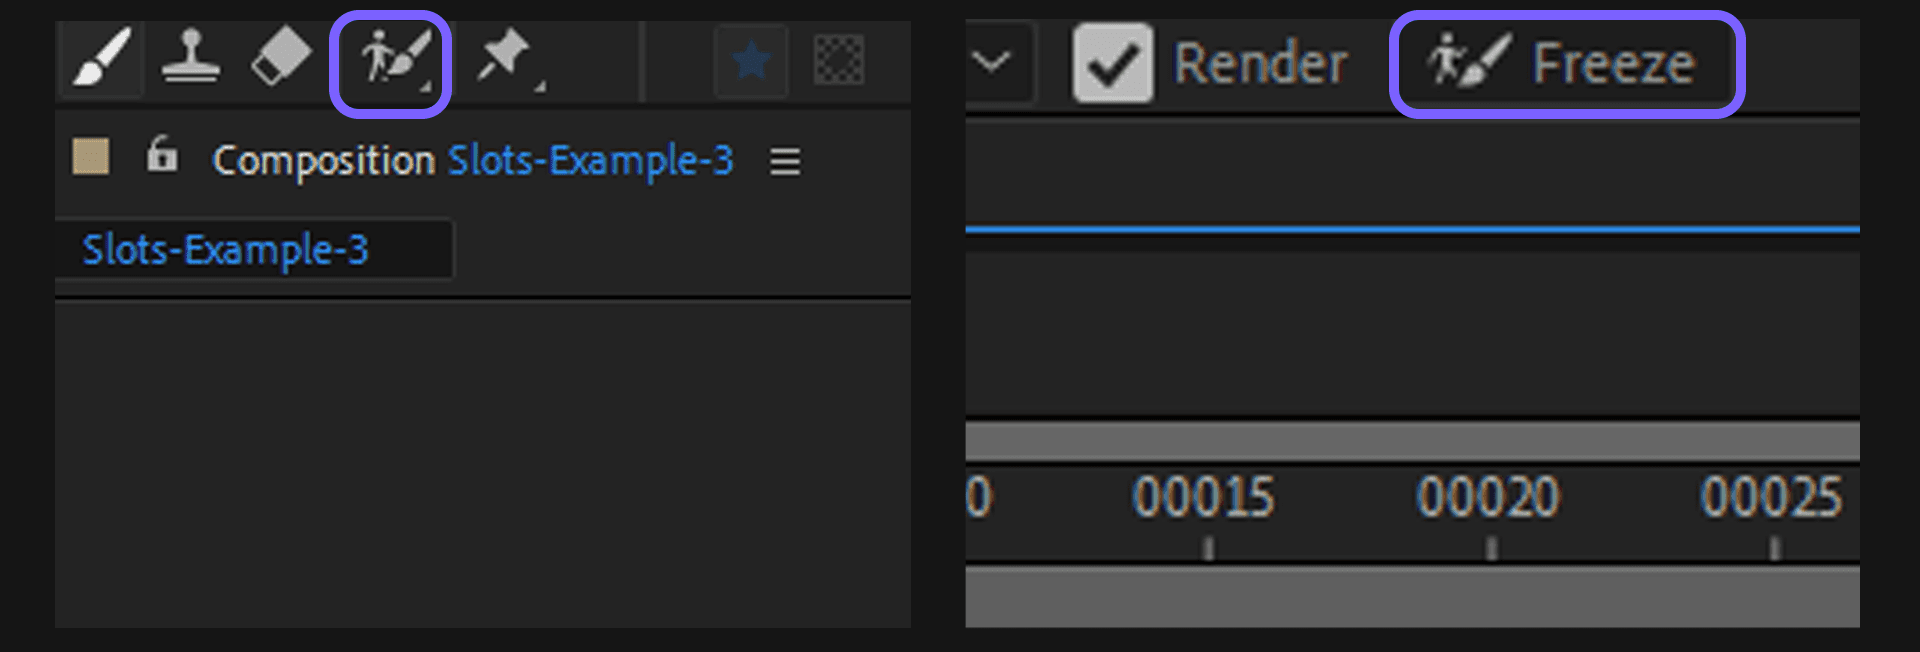
You can use the Roto Brush tool to mask out the face of the reels on your slot machine. Simply select it from the toolbar and scribble over the reels. Once you're satisfied, select "Freeze" to lock in your mask, and apply an "invert alpha" alpha effect to, well.. Invert the alpha.
Place a second piece of generated footage below your cylinders, and you're done!
As always, the After Effects template used to create this animation is available here.
We'd love to see what kind of creations you come up with. So make sure to tag @HaiperGenAI on social media, and share your discoveries on Discord!